
updated 8/27/03
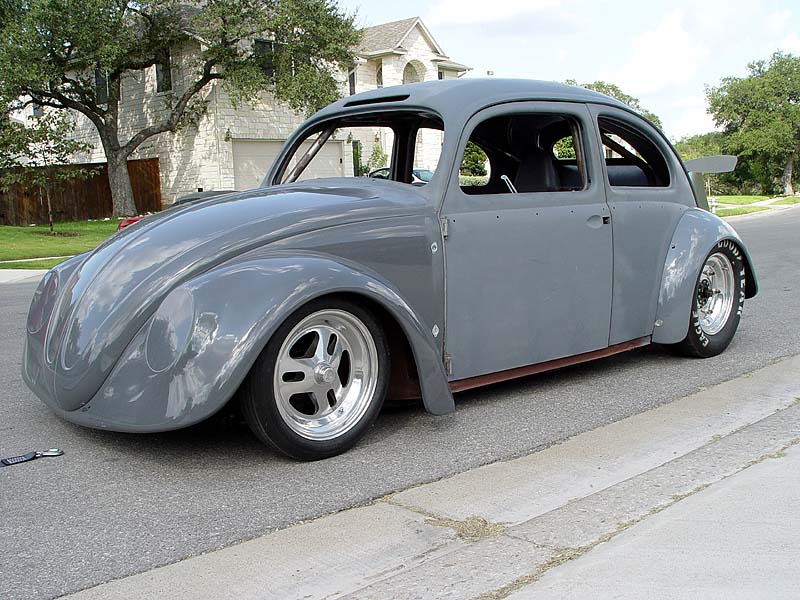
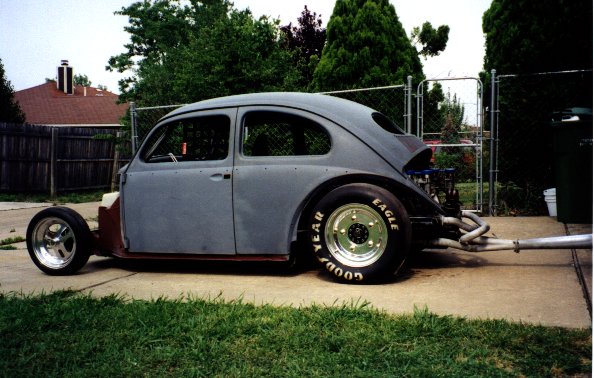
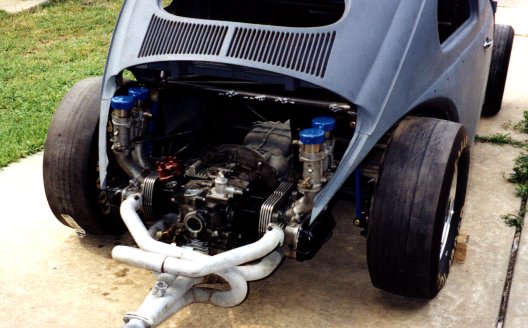
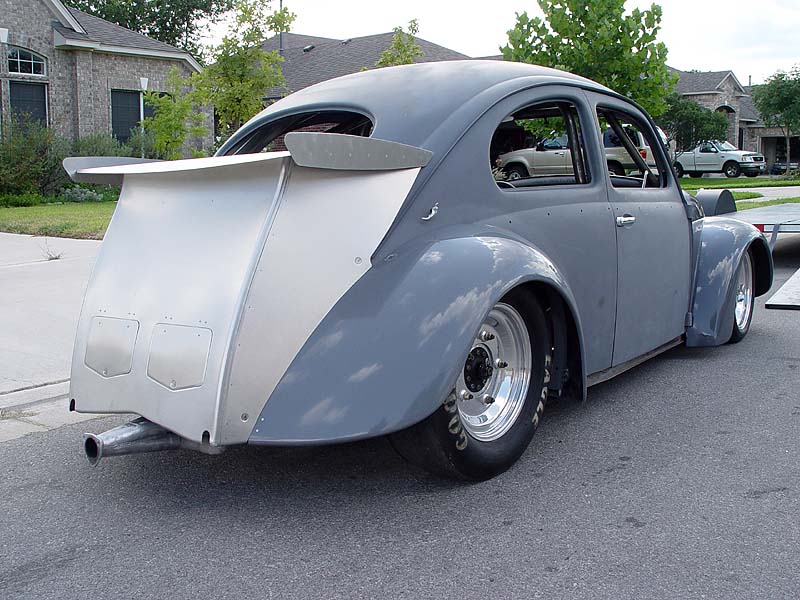
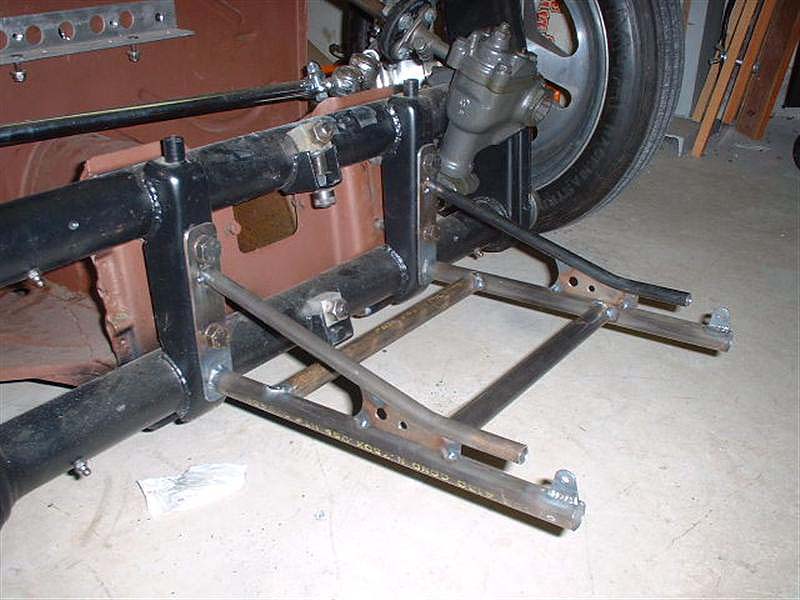
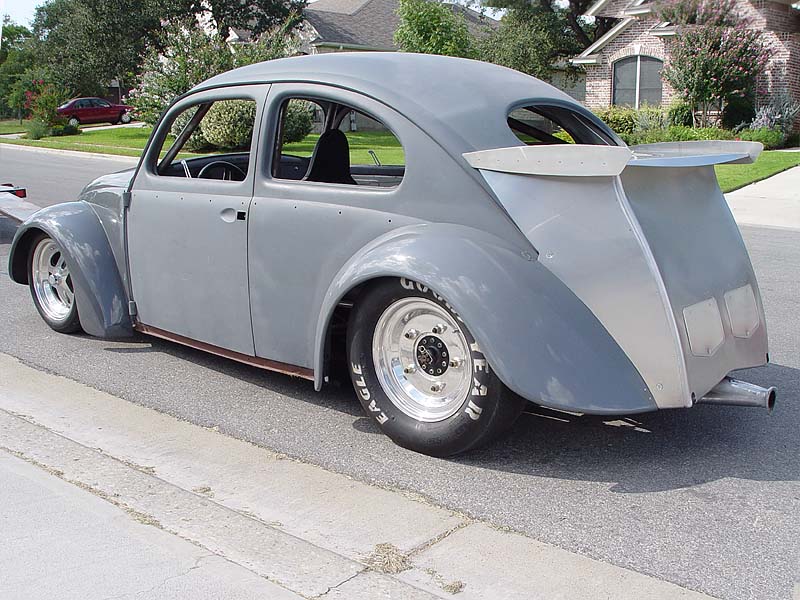
Eric's car is a hybrid pan/chassis car. The front half is floorpan, but the back half is tube chassis with ladder bars and coilovers. The cage and 32" ladder bars are all done in chromemoly. The engine is a 78x94 motor with Shaun McCarthy superflow heads. It's hooked to a David Crow bus transmission with swingaxle conversion.
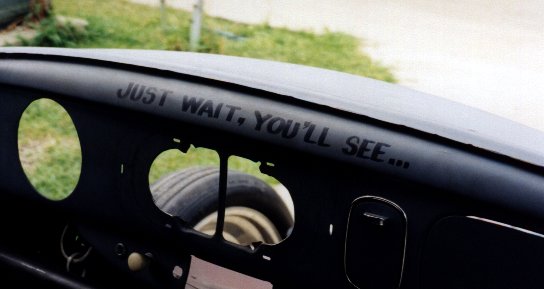
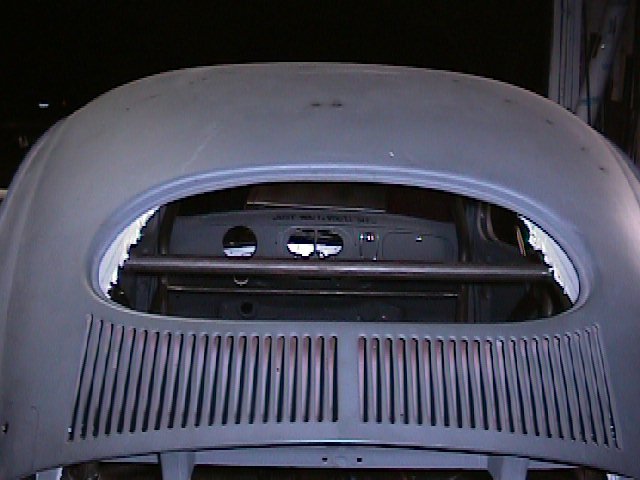
JUST WAIT, YOU'LL SEE... This is the dash in Eric's oval. The car has been under construction for a long time, even before I got it, but it's getting done right. If you all can just wait a bit longer, you WILL see. No disappointments, guaranteed.
 |
 |
 |
 |
 |
 |
 |
 |
|
 |
 |
 |
The newest pictures are at the bottom of the table below.
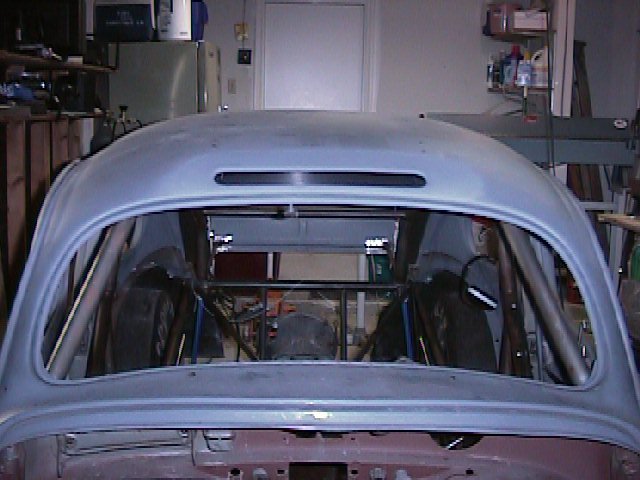 |
Air inlet slot above windshield. Approx 2"x18" in size. Radiused edges (3/8" tubing welded in.) |
|---|---|
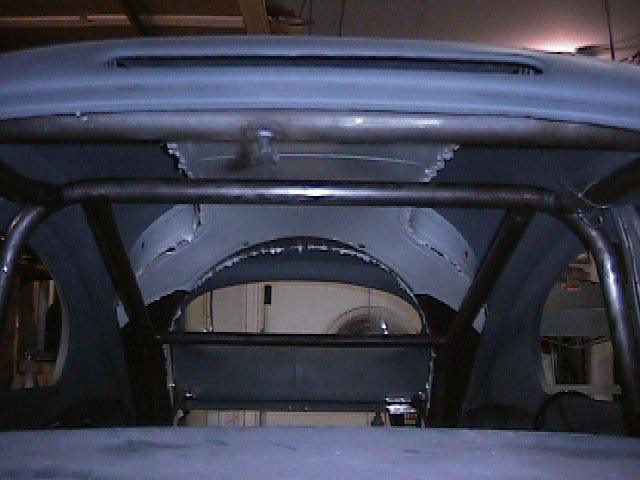 |
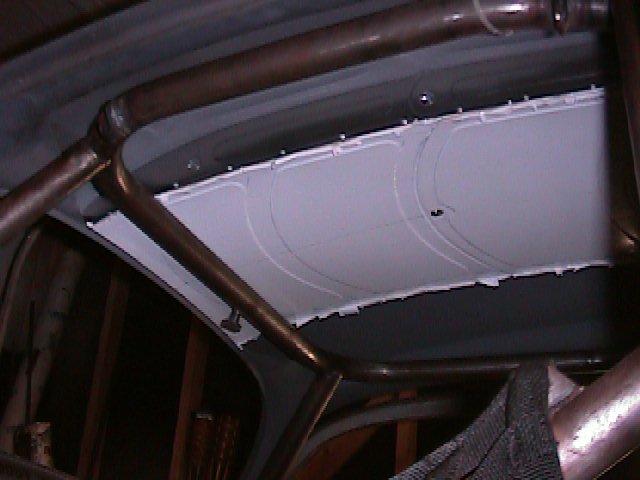
Tunnel runs along roof and splits around rear window so the view of
the competition is preserved. :-)
Don't be alarmed by the apparent fringe on the tunnel. It's true this is a Texas car, but it's not meant to be WESTERN STYLE. I just left some of the protective plastic on the aluminum and the shrinker/stretcher will shred the plastic as it works the metal into a curve. |
 |
Front section of tunnel above windshield showing how it seals to the roof. The plastic has been taken off the sides of this section but left on the bottom. The tunnel is actually 3 sections which comes out in 4 big pieces (the rear section separates into 2 pieces.) You can also see the seam between the front and middle sections here. |
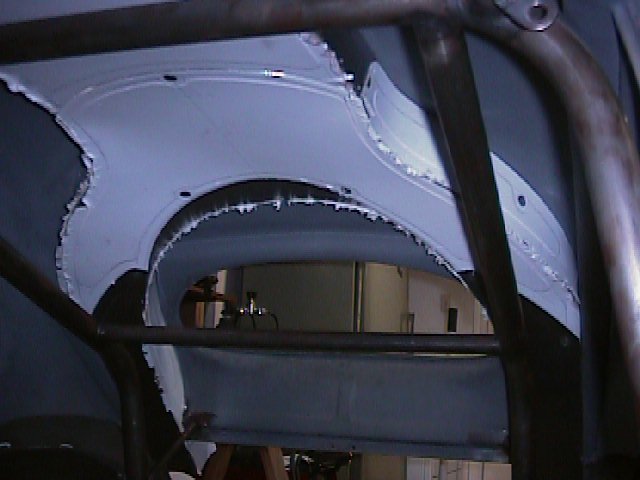 |
Rear of tunnel, the horseshoe, as it splits and goes around the rear window. |
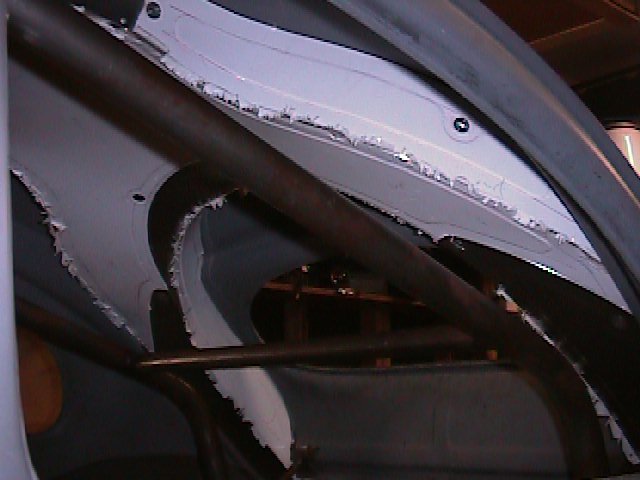 |
View through the quarter window showing some of the bead-work on the horseshoe. |
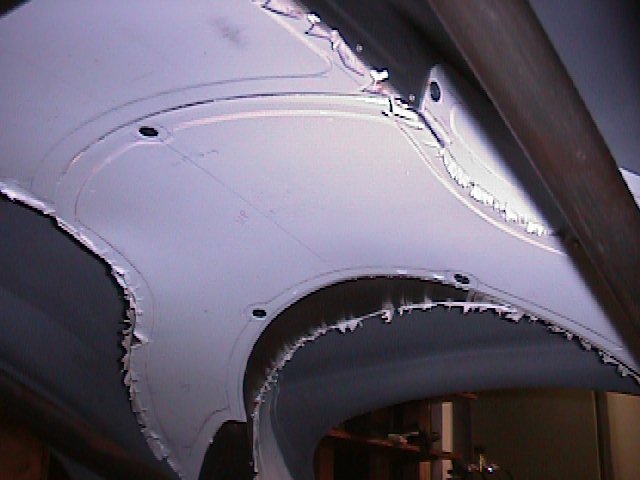 |
Another shot of the horseshoe showing where it meets the center section. It's made up of 8 different pieces of aluminum either riveted or DZUSed together. |
 |
Looking in through the rear window only a small portion of the tunnel is visible, which is good. |
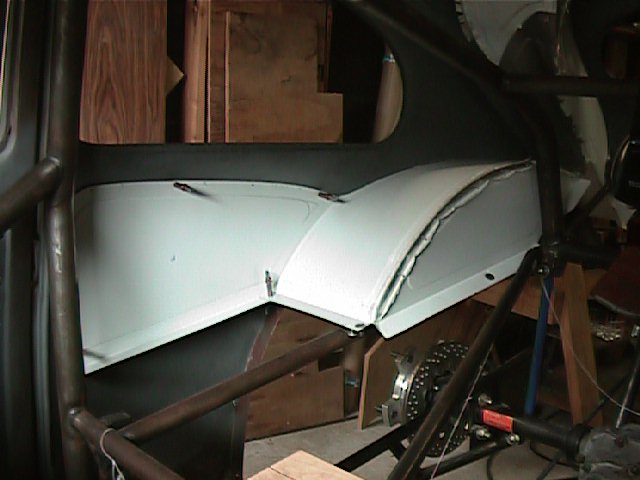 |
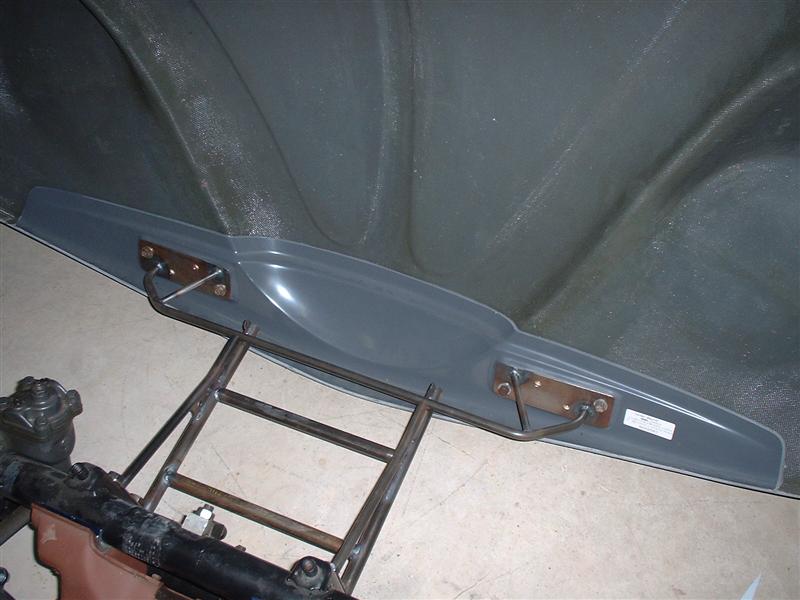
Wheel tub and quarter panel. |
 |
Kickpanel on passenger side of car. |
 |
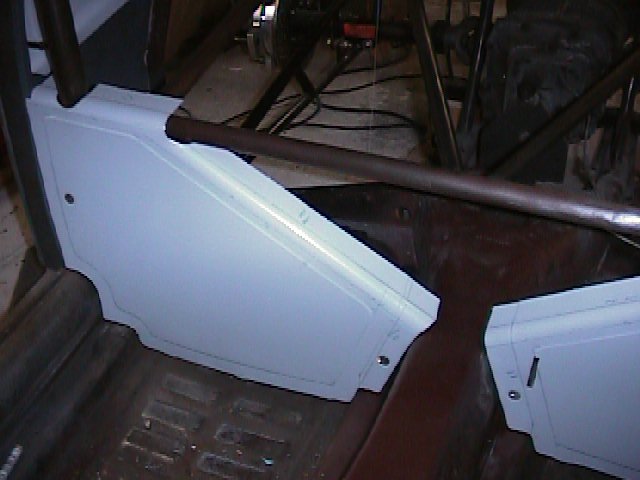
Both kickpanels. Another piece will bridge the two and fit tight
against the tunnel. Three pie-shaped pieces will fill in the large center
section and two small rectangular "shelves" will go in front of the wheel
tubs and fill those areas. Difficult to 'splain without taking another
whole paragraph. Just wait...You'll see... |
 |
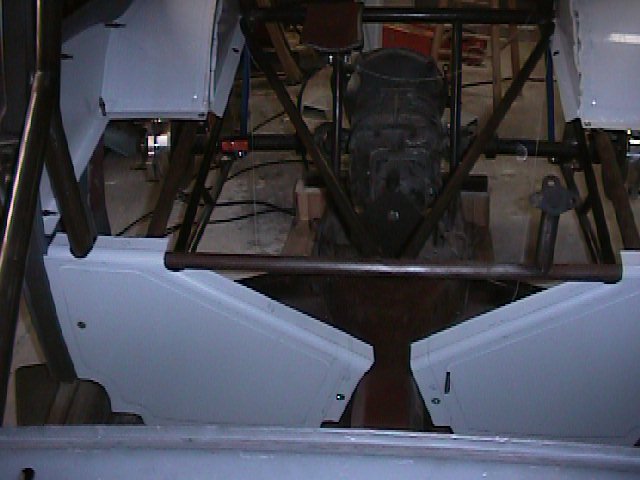
Completed rear interior, showing both wheel tubs and center
pieces. |
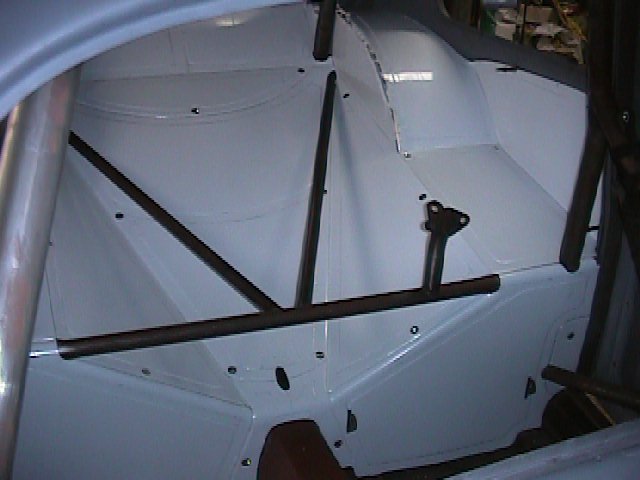 |
Another shot of the finished interior, showing the kickpanels and hole
for shift rod, which will be on top of the stock tunnel since the
transmission is raised 3-1/2 inches. |
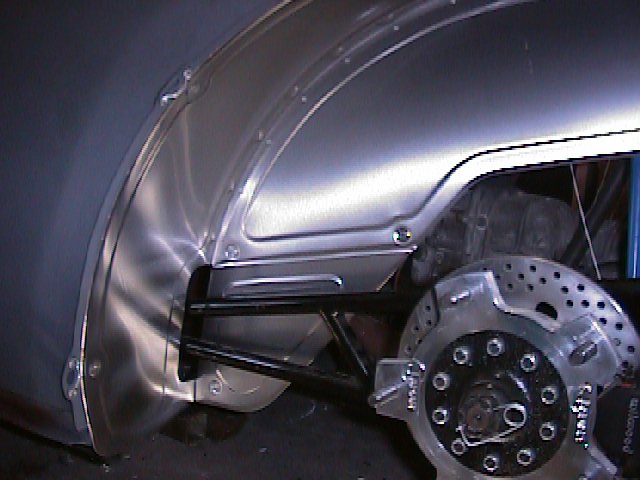 |
Inner wheel tub. Protects interior aluminum from getting dinged
by rocks picked up by sticky slicks.
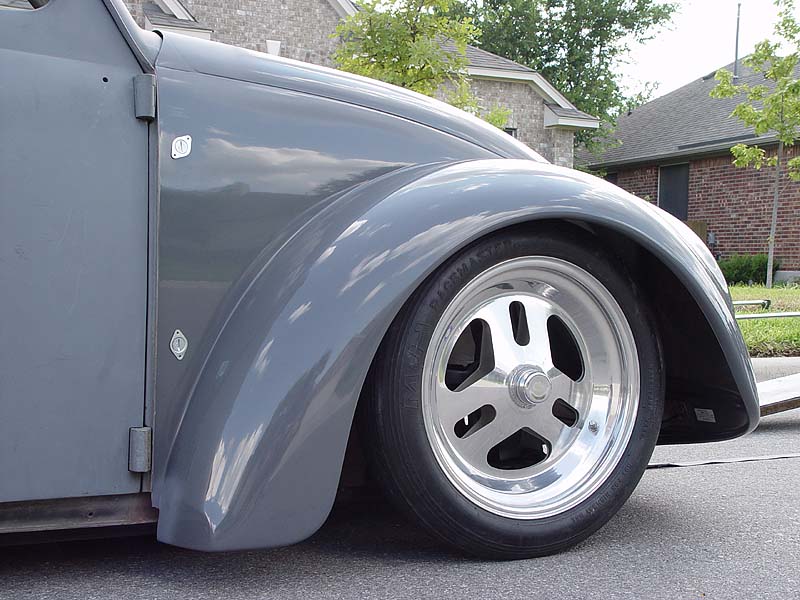
You can also see the fender mounting strip that was made and installed to raise the fenders. |
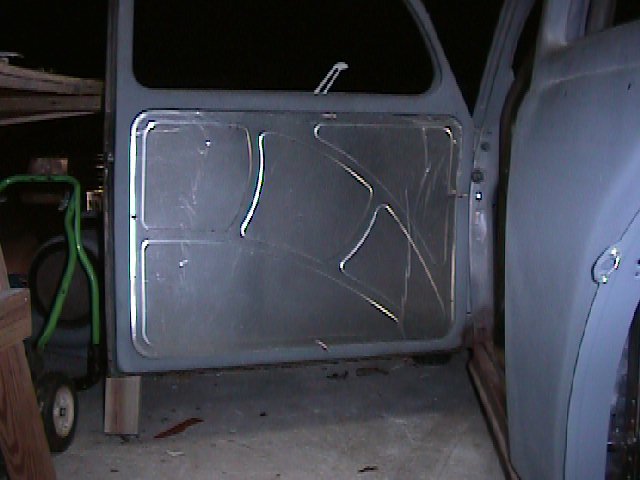 |
Doorpanel shot showing curved beads that follow the theme used on the roof tunnel and rear interior aluminum. |
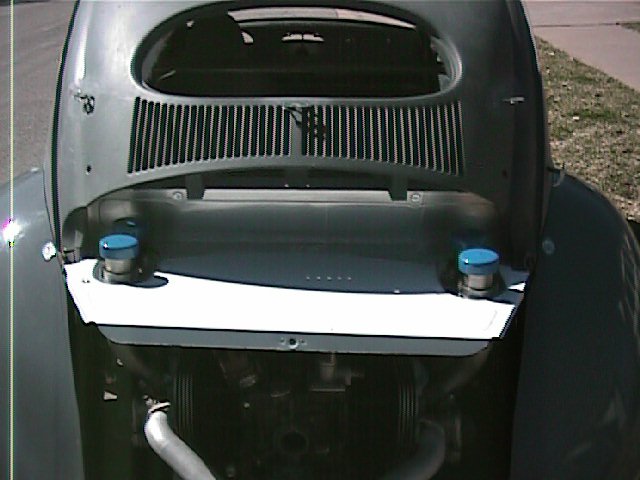 |
Carburetor shelf to keep the hot air from the engine out of the carb airbox area. The roof tunnel dumps air into the back corners of the airbox. |
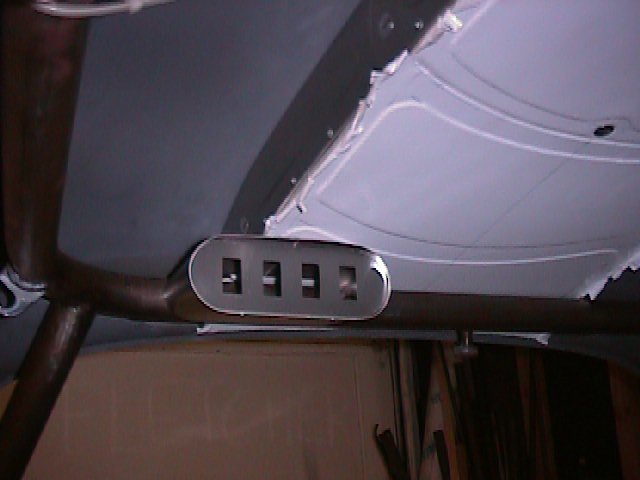 |
Overhead switchbox. Constructed from .032 aluminum - no switches installed yet. |
TO  HOME
HOME